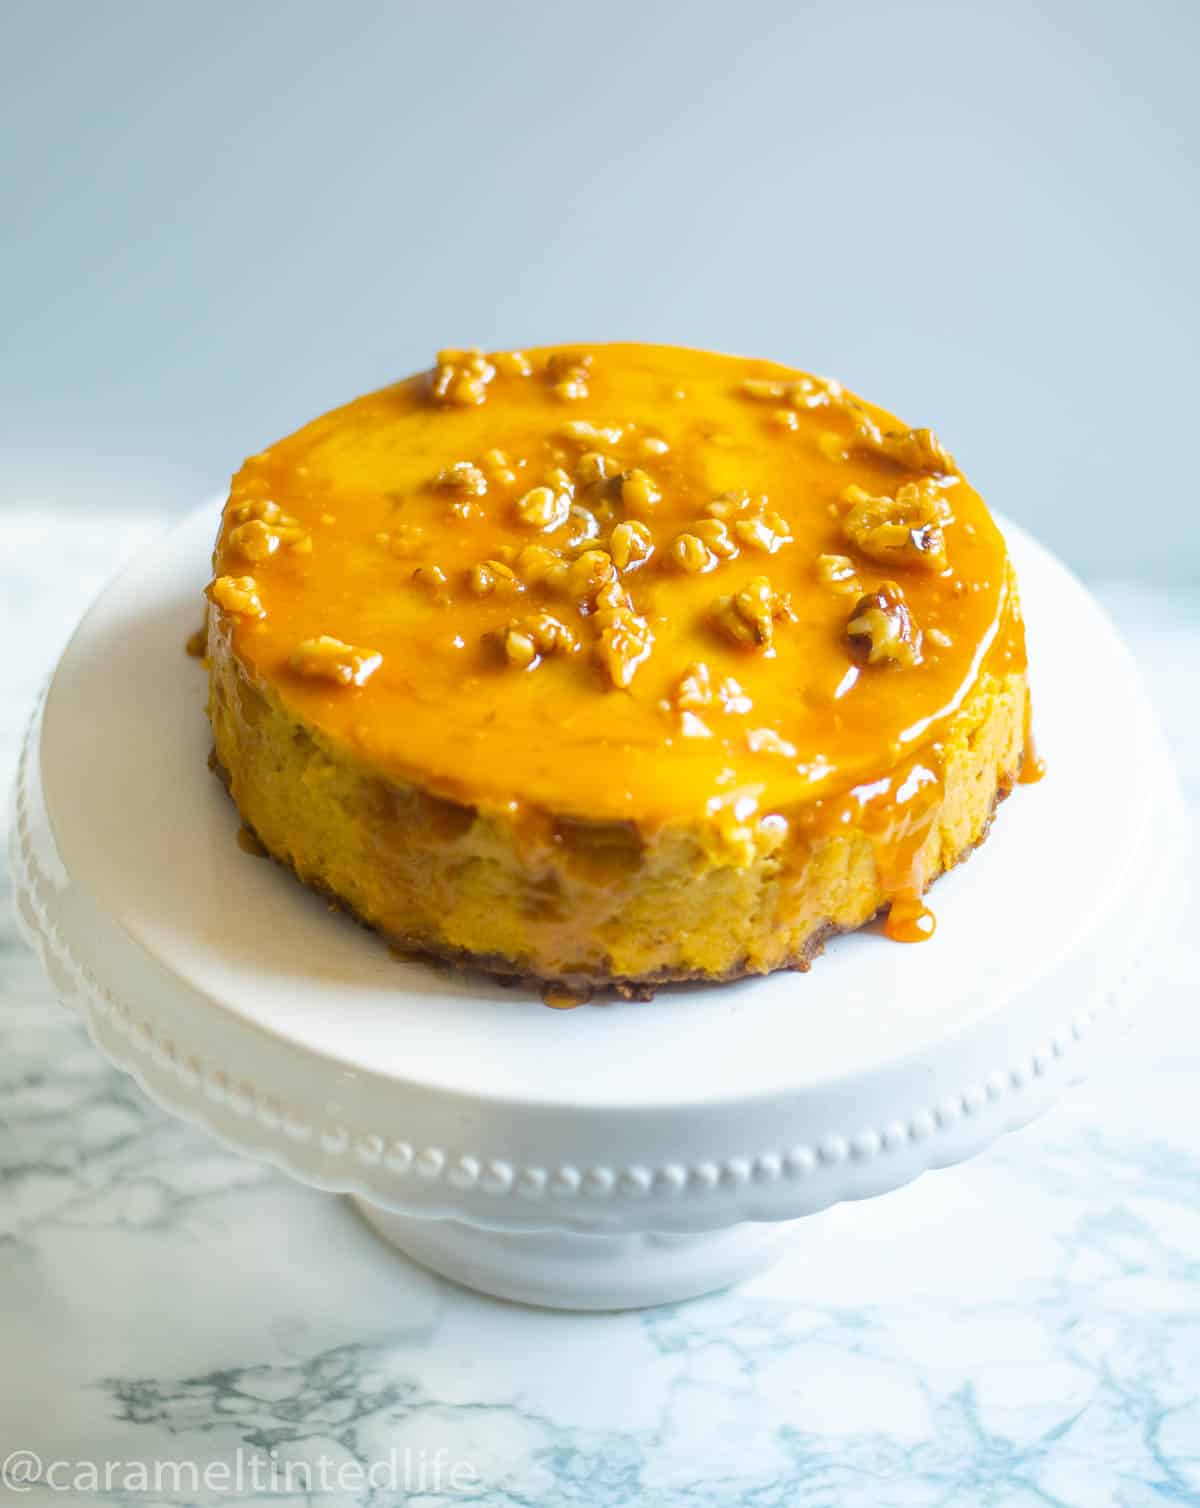
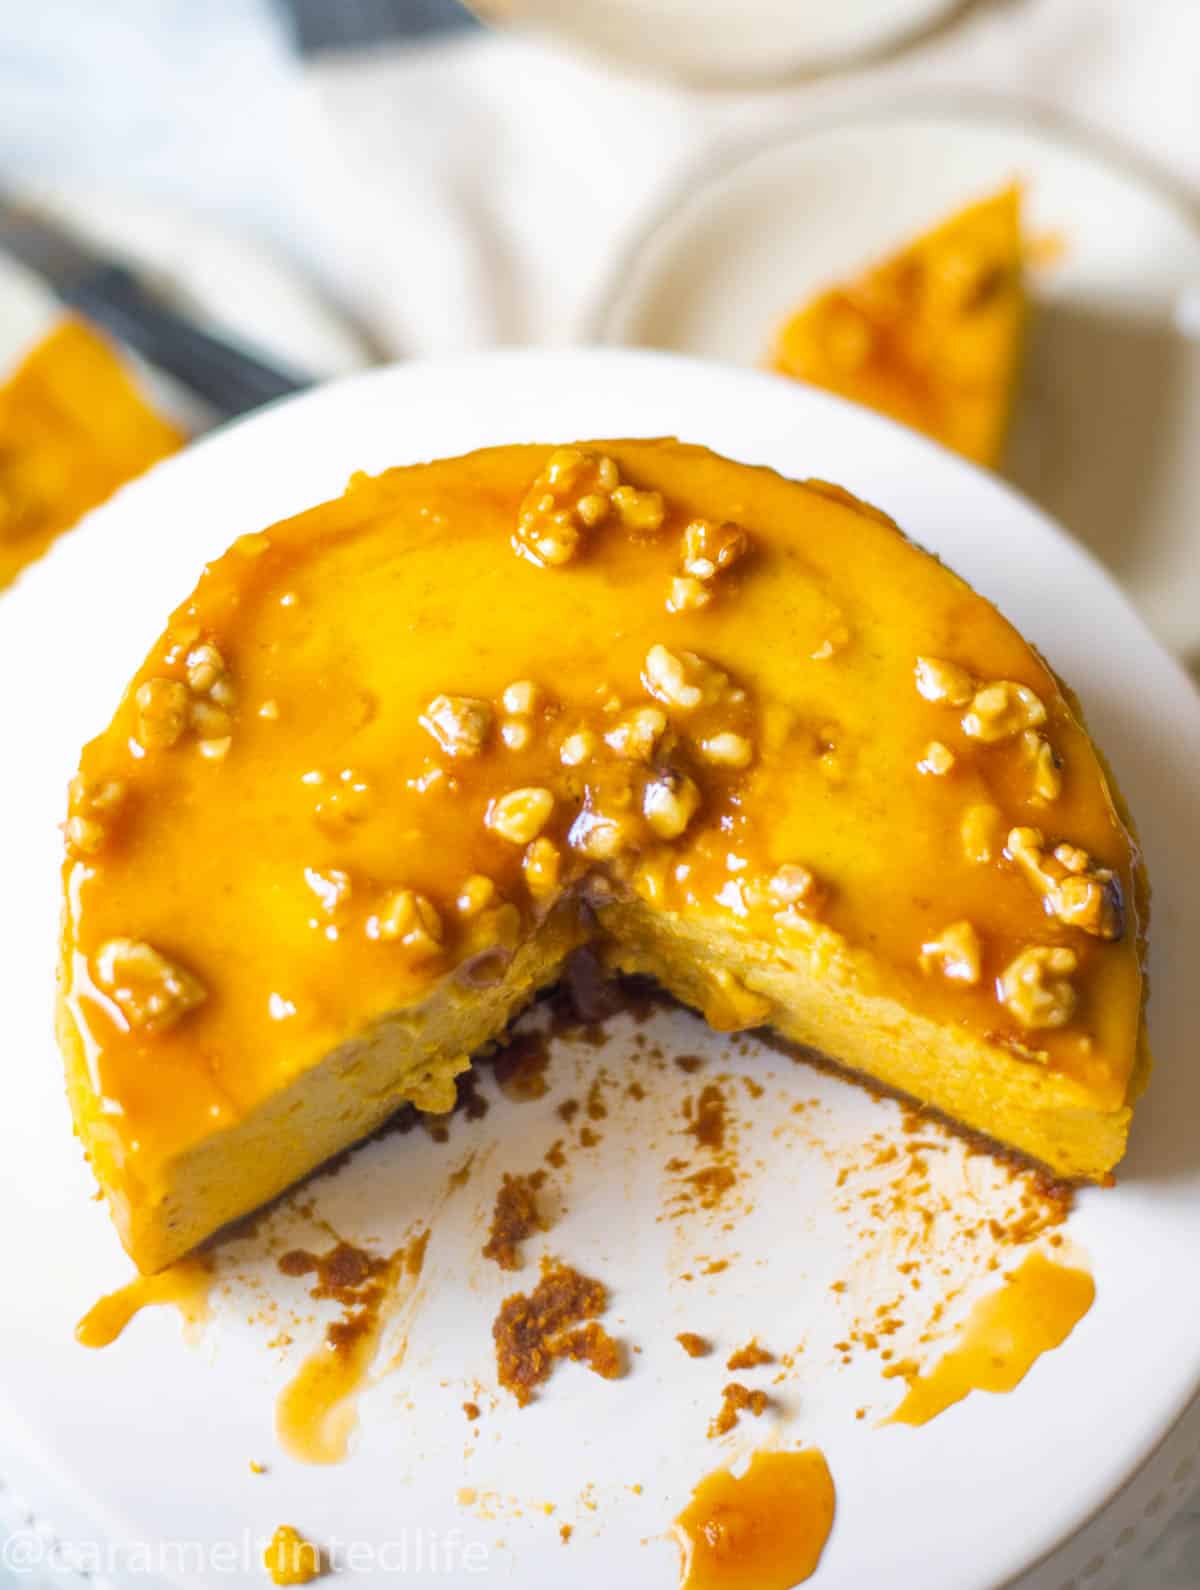
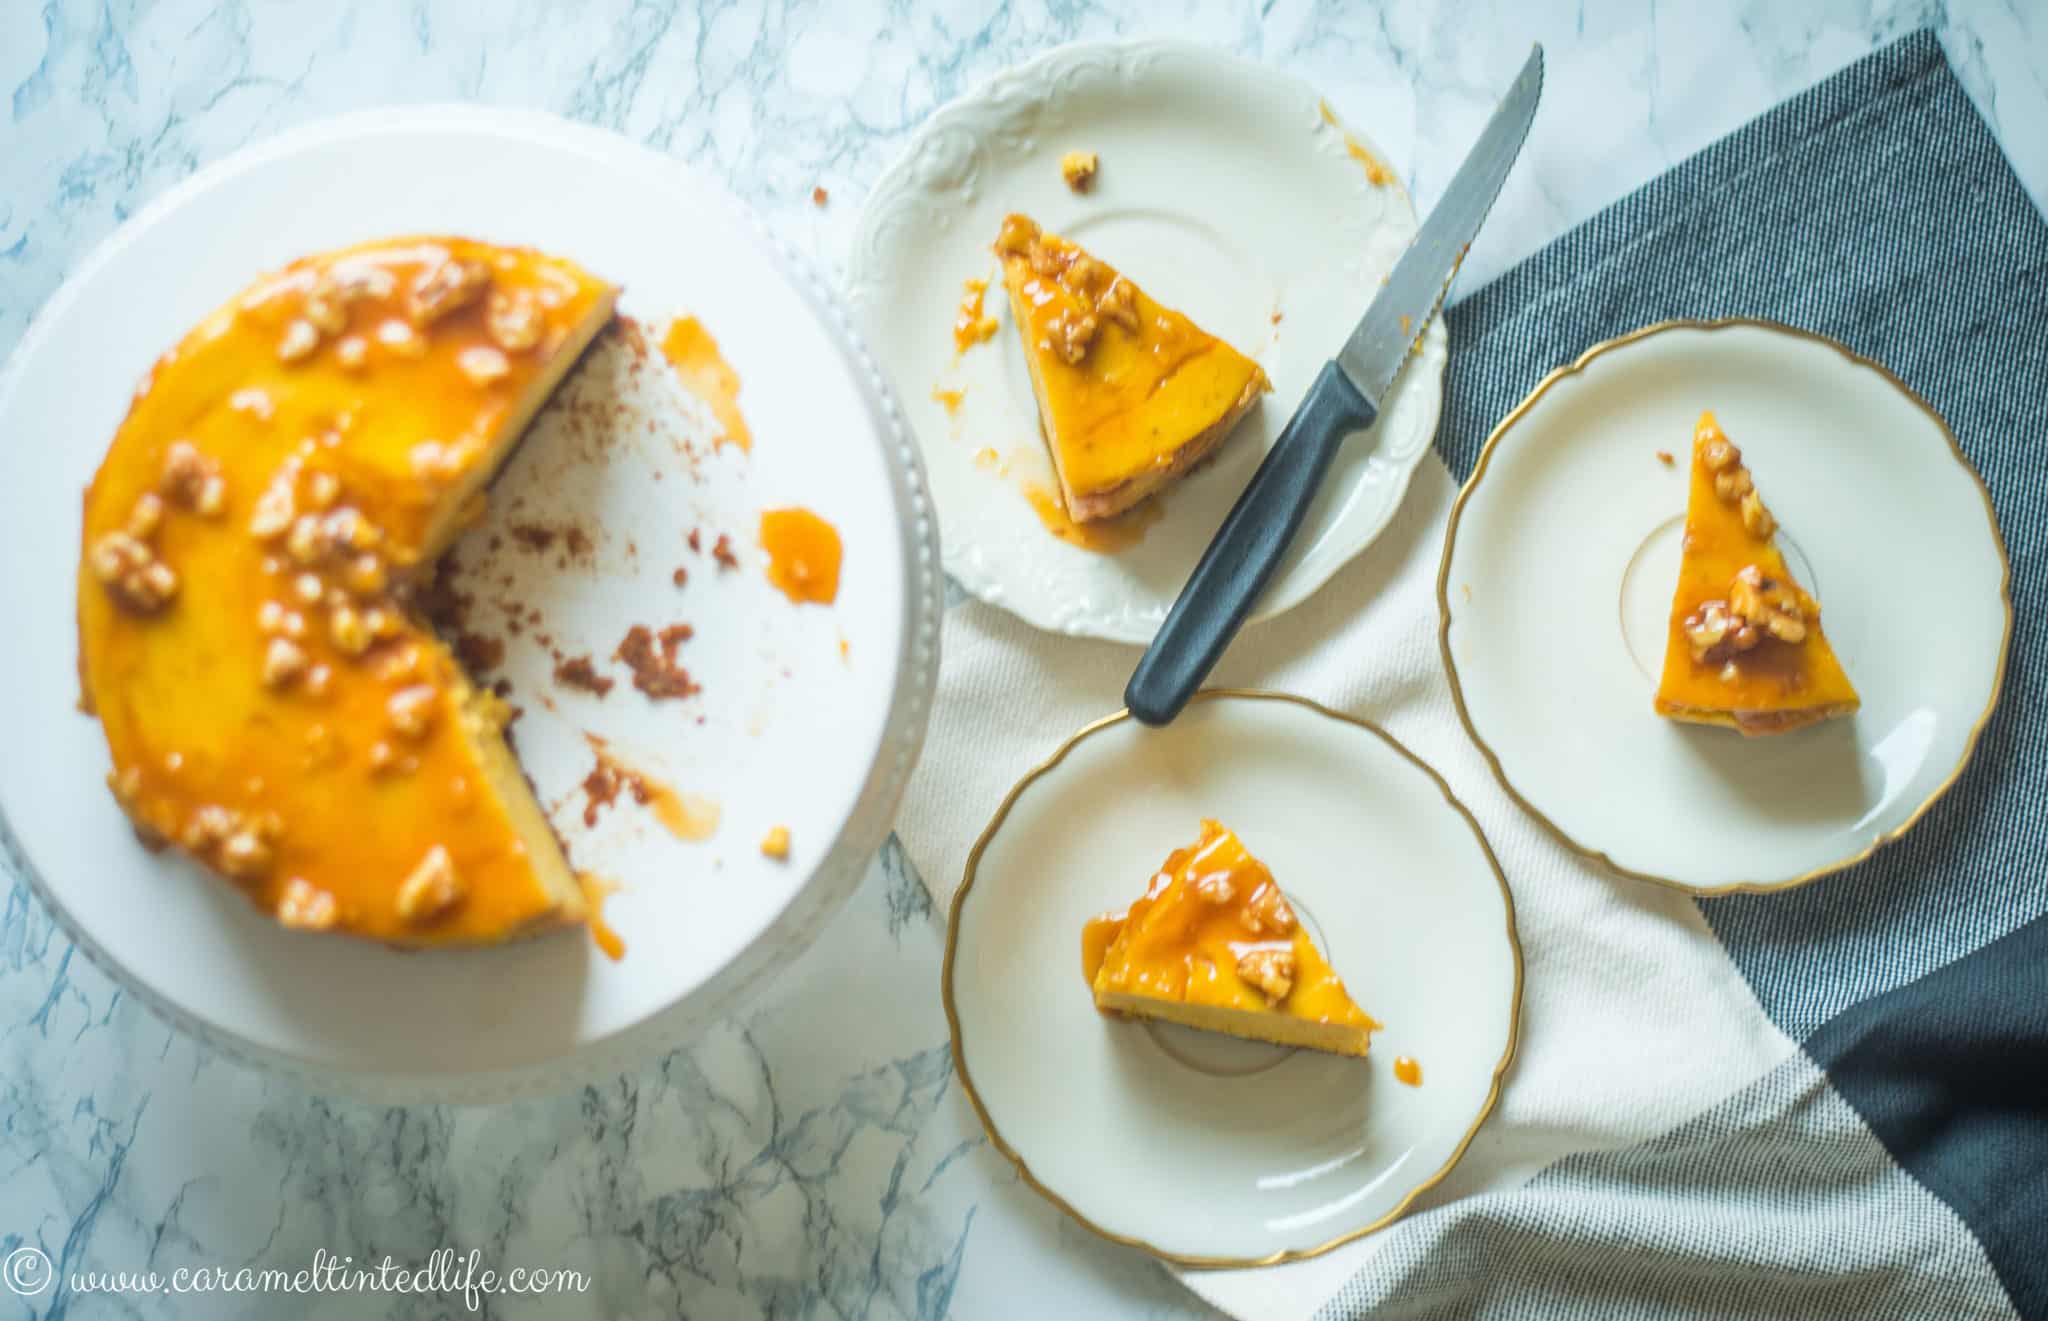
Instant Pot pumpkin cheesecake is made with fresh pumpkin puree and topped with a salted caramel walnut topping. Such a breeze to make in the Instant Pot!
(This recipe was first published in September 2018 and has been updated with detailed instructions and notes)
Jump to:
The Instant Pot has completely changed my kitchen game. I use it mostly for cooking my curries, or quick and efficient meals such as rice and veggies, or pasta, or soup. And while it may seem quite trendy now to make anything and everything can be made in the Instant Pot, I’ll be the first to admit that I would much rather use my oven for roasting meat and vegetables or use my stove for searing and browning meat.
Having said that, let's acknowledge the fact that the Instant Pot does many things really well - such as cheesecake. The Instant Pot can churn up an excellent cheesecake, with a texture that rivals that of a traditional oven-based cheesecake.
After I started making cheesecakes in the Instant Pot, I've never gone back to the baked version! If you are cheesecake-obsessed, like me, try my recipes for festive Cranberry and White Chocolate Cheesecake, Mango Cheesecake, and Caramel Apple Cheesecake.
Recipe Ingredients
To make pumpkin cheesecake in the Instant Pot, you will need:
For the cheesecake crust
- Biscoff cookies or gingerbread cookies or Grahan crackers
- Butter
- Brown Sugar
For the cheesecake filling:
- Cream cheese
- Sugar
- Vanilla Extract
- Heavy cream
- Pumpkin pie spice
- Eggs
- All-purpose-flour
For the salted caramel-walnut topping:
- Walnuts (or pecans)
- Sugar
- Butter
- Heavy Cream
- Sea Salt

Why make cheesecake in the Instant Pot?
The biggest benefit of making cheesecake in the Instant Pot is in the texture of the cheesecake. The cake is cooked in steam, and its texture is less dense and moister than a cheesecake made the traditional way, in the oven.
To make the best kind of Instant Pot pumpkin cheesecake, you should use fresh pumpkin puree. Make your own fresh pumpkin puree in the Instant Pot itself. You simply add pumpkin slices (peel on) into the steamer basket and Pressure Cook it for 5 minutes in Manual mode (this is the ‘Pressure Cook’ button on newer models).
Then, once the pressure has released, take out the pumpkin and let cool down. Scoop out the pumpkin flesh and mash it with a fork or use a blender if you like a very smooth puree. Use this puree in your pumpkin cheesecake recipe for the most amazing pumpkin flavor!
Expert Tips and FAQs
Cracked cheesecakes are not the end of the world! I always top my cheesecake (cracks or not) with a topping – but if you prefer your cheesecake without a topping, and are not happy with cracked tops, here is what you need to keep in mind -
1. Avoid overmixing the batter and the eggs. Add the eggs at the end, and gently mix them into the batter. Overmixing is a big reason why cracks can occur.
2. Adding 1-2 teaspoons of cornstarch to the cheesecake batter also helps prevent the cheesecake from cracking.
3. Do not overcook or undercook the cheesecake, stick to the time mentioned in the recipe.
4. Spray the sides of the springform pan with non-stick cooking spray, so that the sides do not pull away from the center of the cake as it cools.
Yes! To make a cheesecake, you can use a regular springform pan (silicone, stainless steel or aluminum). Get yourself a 7” springform pan or a 4” springform pan, so that it fits inside the IP. anything larger than a 7” will need the oven.
The sealing ring of an Instant Pot takes on the smell of spices and savory food and this smell is hard to get rid of. This is a common problem faced by many, and despite many dishwasher cycles and always, always airing out the lid of the Instant Pot, a faint smell of spices will linger on the ring. So, if you want to make a cheesecake in the Instant Pot, just get yourself a separate silicone sealing ring. Get yourself a separate silicone ring for desserts, and if you find it helpful, get yourself one in a different color, such as these.
A very common method of lifting the cheesecake out of the Instant Pot is to use a tin foil sling. Optionally, you could get this silicone bakeware sling, a good substitute for tin foil
Once the cheesecake is out of the Instant Pot, let it rest and cool down to room temperature, and then refrigerate. The best cheesecakes are refrigerated for 24 hours or more. If you are short on time, you can refrigerate for 2-3 hours, but if you can cook ahead, make your cheesecake a day ahead of time.
More Instant Pot Dessert Recipes
Instant Pot Gingerbread pudding
Instant Pot Kheer (Rice Pudding)
Instant Pot Gajar Halwa (Carrot Fudge)
Instant Pot Pumpkin Cheesecake
Ingredients
For the pumpkin puree: (see notes on substituting with canned pumpkin)
- ½ medium pumpkin sliced into thick slices (you can leave the skin on)
For the biscuit base/ crust:
- 13-14 Lotus biscoff cookies can be substituted with graham crackers
- 2 tablespoons butter melted
- 2 tablespoons brown sugar
For the cheesecake filling:
- 16 ounces cream cheese 400 grams, at room temperature
- ¾ cup sugar 5 ounces
- ½ teaspoon vanilla extract
- 1/4 cup heavy cream
- 1.5 teaspoons pumpkin pie spice I used a local gingerbread spice mix
- 3 eggs at room temperature
- 2 tablespoons all-purpose-flour
For the salted caramel-walnut topping:
- ½ cup coarsely chopped walnuts (or pecans)
- ½ cup sugar
- 2 tablespoons butter
- ½ cup cream
- A pinch of sea salt
Instructions
Prepare the pumpkin puree:
- Pour 1 1/2 cups of water into the Instant Pot. Place the trivet in the pot.
- In a heat-proof container such as this one, add the pumpkin slices.
- Put on the lid of the IP, and with the vent in 'sealing' position, switch to 'Manual' mode (this is the ‘Pressure’ mode in newer models), in 'High' setting. Set the time for 5 minutes. Let the pumpkin cook, and let the steam release naturally (do not open the vent to release steam, let the vent go down on its own) for 8 minutes. Then, lift the vent to release any residual steam.
- Take out the container and let the pumpkin cool. Once cooled, use a spoon to scoop out the pumpkin flesh and mash the flesh in a bowl using a fork. You could also blend the cooked pumpkin with a hand blender if you prefer puree with a more uniform consistency.
Prepare the biscuit base/ crust
- Spray the inside of a 7 inch spring form pan with non-stick cooking spray.
- In a food processor, grind the biscoff cookies until crumbed.
- In a mixing bowl, stir together biscoff cookie crumbs, melted butter and brown sugar. Press the miture into the bottom of the prepared pan.
- Place the pan in the freezer until you are done preparing the filling.
Prepare the filling:
- In the bowl of your stand mixer or using your hand-held mixer, add the cream cheese, followed by the cream, sugar, vanilla extract, flour, pumpkin pie spice, and 1 ¼ cup of the prepared pumpkin puree.
- Beat using the paddle attachment, until smooth.
- Add the eggs and mix them gently until just combined without overbeating.
- Pour the batter into the prepared pan. Cover the top of the spring form with a piece of foil.
- Into the Instant Pot, pour 1 ½ cups of water.
- Place the trivet in the bottom of the pot, and use a foil sling or a silicone sling to lower the pan into the Instant Pot.
- Put on the lid of the IP, and with the vent in 'sealing' position, switch to 'Manual' mode (this is the ‘Pressure’ mode in newer models), in 'High' setting. Set the time for 35 minutes. Let the cheesecake cook, and let the steam release naturally (do not open the vent to release steam, let the vent go down on its own) for 15 minutes. Then, lift the vent to release any residual steam.
- Take out the cheesecake using the sling, and allow it to cool for an hour.
- Once the cheesecake has cooled, refrigerate it for at least 2 hours, best for 24 hours.
Prepare the salted caramel topping:
- In a heavy bottom pan, heat the sugar on medium heat, until it melts and turns a light amber. Be cautious because the sugar can burn very quickly and goes from melted to burnt carbon.
- Lower the heat and add the butter and mix, the mixture will foam gently.
- Add the cream and keep stirring, till the mixture is evenly combined and turn off the heat. Add the salt and stir to combine.
- Let the caramel cool a little, and add the chopped walnuts or pecans.
- Before the caramel thickens, pour it over the cheesecake and serve.
Video
Notes
- If using canned, just substitute with 1/3 cup (350 ounces) canned pumpkin puree
- Avoid overmixing the batter and the eggs. Add the eggs at the end, and gently mix them into the batter. Overmixing is a big reason why cracks can occur.
- Adding a small amount of corn-starch to the cheesecake also helps prevent the cheesecake from cracking.
- Spray the sides of the sping form pan with non-stick cooking spray, so that the sides do not pull away from the centre of the cake as it cools.



Hi. If using a 6x3 pan because I like a taller cheesecake, will the cooktime be the same? Also, you mentioned adding a little bit of cornstarch, how much? When I make cheesecake #17, I add 2 tbsp but feel it would be too much in your recipe because you already add all purpose flour. Thanks.
Although I haven't tried a taller cheesecake pan, I would recommend you cook it longer, at least 5 extra minutes of pressure cooking. Ideally that should ensure the inside cooks enough. You can add a teaspoon of cornstarch in addition to the flour. Hope this helps!
Thank you for your reply. I will be making this today. Can't wait to taste it!
I made this with canned pumpkin and it was pretty good! I will be making this again, with fresh puree.
Recipe says half of medium pumpkin, how much would it be if using canned purée?
If using canned purée how much is equal to fresh?
Hi Dawn, you can subsitute fresh puree for the same amount of canned puree. In the recipe, I use 1.25 cups of the fresh puree, the same quantity of canned puree can be used instead. Let me know how it turned out!
Hello, I am confused about step 3 and 4 of the purée part. Do I cook it for 35 min and then 5?
Hi Angela, thank you for pointing it out. It was an error in the recipe card, and I should have noticed it earlier. Step 3 is not part of the recipe, I have updated the recipe card to omit that step entirely. You only need to cook the pumpkin for 5 minutes. Thank you for bringing this to my notice!
Not terrible at all! Sometimes it may be more convenient to make it with canned pumpkin, but I recommend fresh, as the colour and flavour are unmatchable when using fresh pumpkin. If using canned, just substitute the same amount of canned for free puree. Good luck and let me know how it turned out! I would love to hear back from you!
I know terrible to ask but if you substitute canned pumpkin, how much would you need?