This will be our third Christmas in Switzerland, and like every year, I am always overcome by a sense of wistfulness. Christmas has always been celebrated with our family and friends in Goa, and being away from family at this time of year is never the same. Having said that, there is plenty to be grateful for this year. And one can't help but feel festive when in Switzerland, because there is always something going on around Christmas time. And I don't mean the commercial onslaught that hits us in the name of Christmas. Of course, that happens as well although, I believe, to a lesser extent than it does in many countries.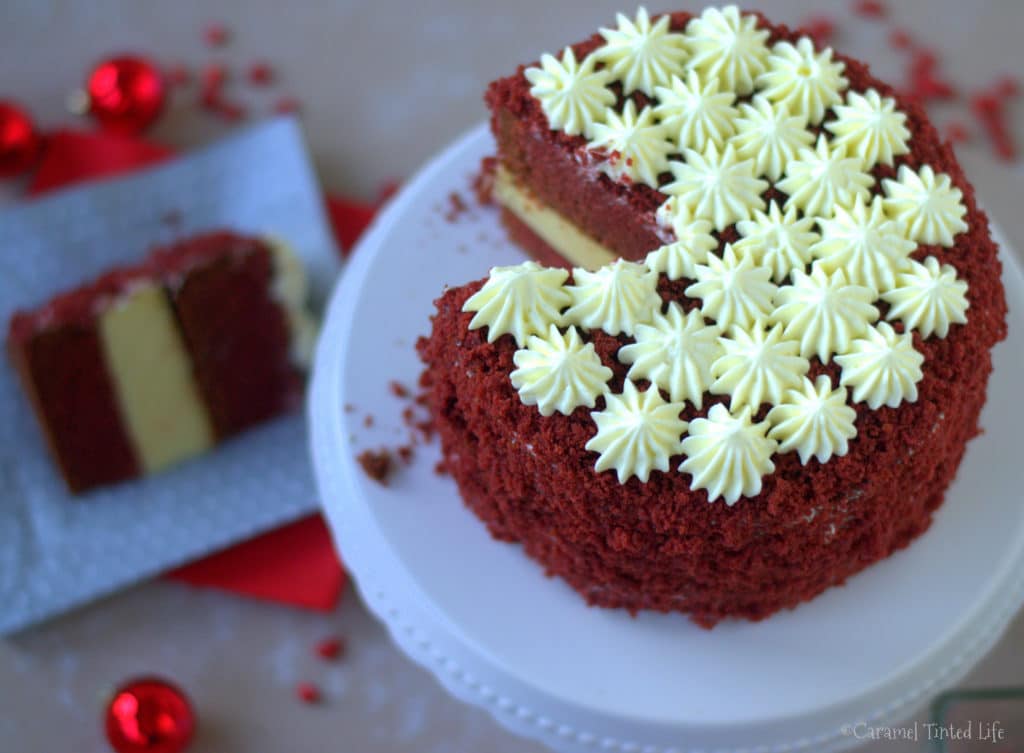 The Swiss don't have the opulent churches or decades of glorious history that draws hordes of winter tourists to their European neighbors, but Swiss Christmas traditions are beautifully charming in themselves.
Last week, on the 23 rd November, our little town lit up with a canopy of lights. The ceremony was accompanied by gluhwein for the adults and Spanisch Brötli (a flaky pastry filled with hazelnut paste and jam) for the kids.
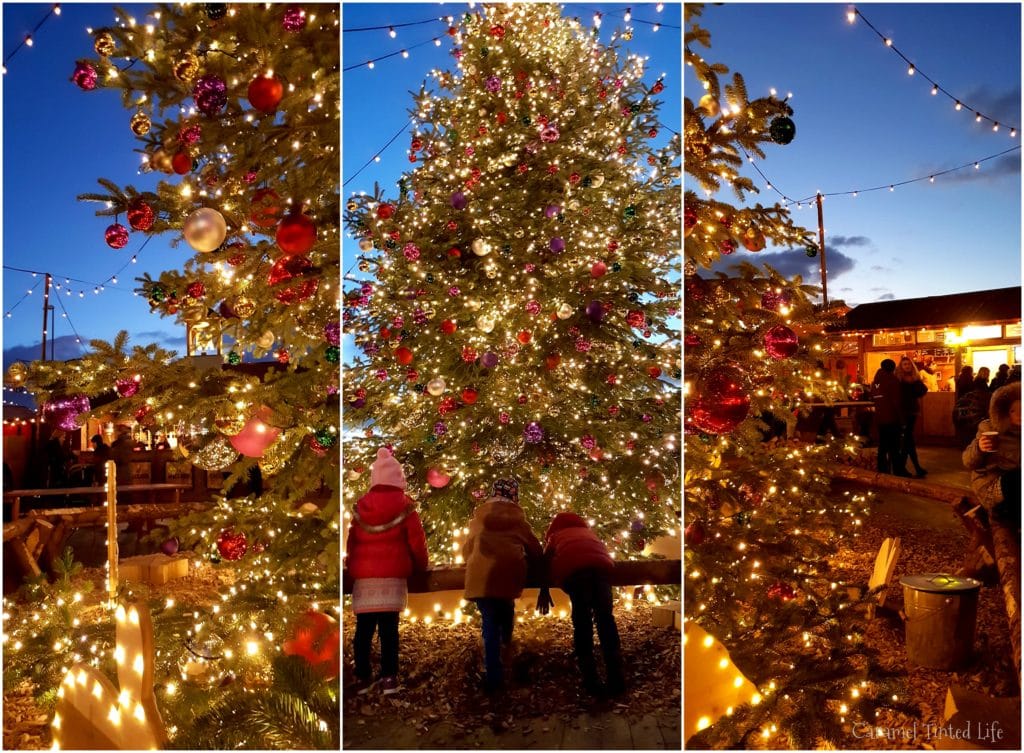
In Zurich, the lichterfest, as the ceremony of lighting the lights is called, is on a grandiose scale. The canopy of lights, called 'Lucy' lights, is stunning to say the least. The lighting of the lights accompanies the opening of the Christmas markets in Zurich, the most enchanting of which is the 'Wienachtsdorf'. Literally, a Christmas Village, the Wienachtsdorf is on the lakeside, and is dotted with fondue stalls, beautifully lit trees and a skating rink. Here's a picture of the jeweled tree that sits in the heart of this market.
 There are also quieter and more sober events than the increasingly commercial Christmas markets. There is the arrival of Samichlaus, or St Nicholas, a.k.a. the original Santa Claus, in the first week of December. Samichlaus makes his appearance in the village squares and visits children with traditional gifts of tangerines and nuts. How I love a Santa Claus who does fruit and nuts instead of chocolates!
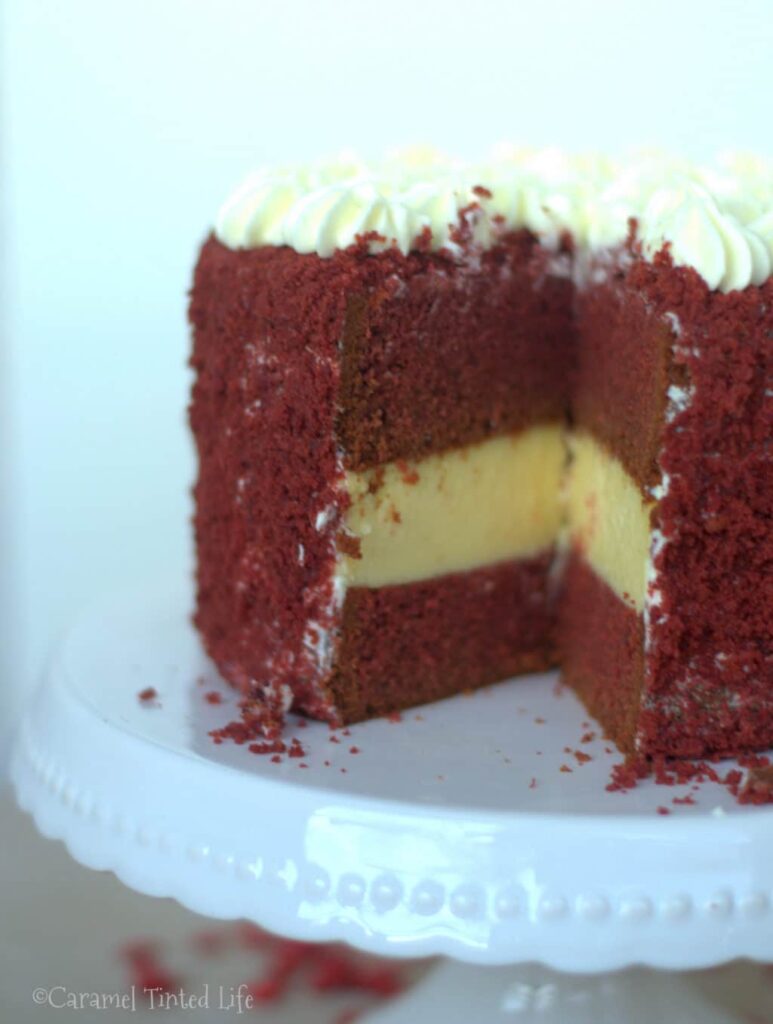
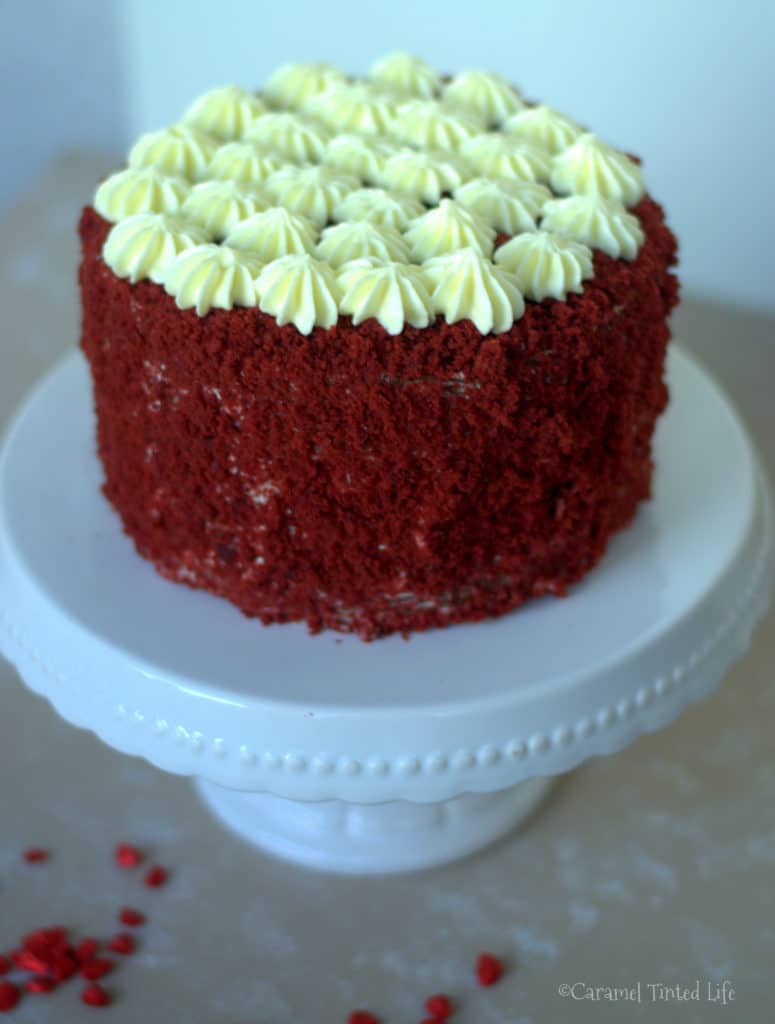
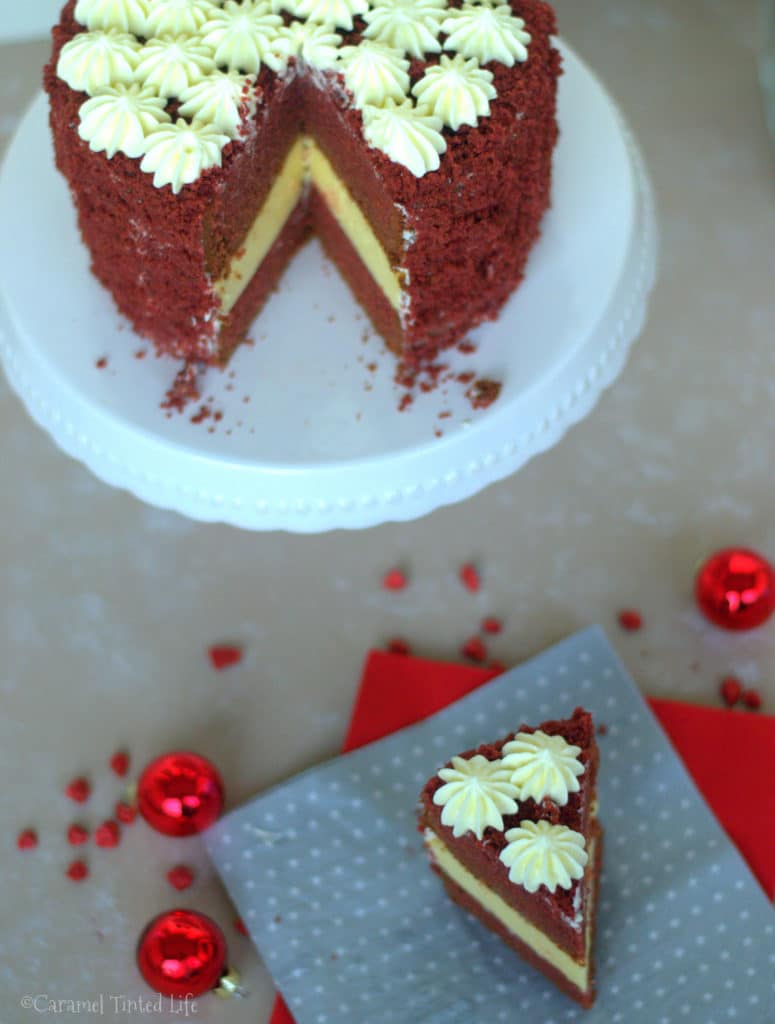
In the spirit of the festive season, I made this red velvet and cheesecake layer cake for some indulgence, because as the old saying goes, there is never such a thing as too much indulgence in December! This is a recipe I've made a couple of years ago, and I am not sure why I waited so long to try it out again. With the red velvet cake alternating with the cheesecake, it is quite the treat, perhaps not one that Sami Chlaus would approve of, but one that Santa Claus of the Coca-Cola fame would most certainly give a double thumbs up to!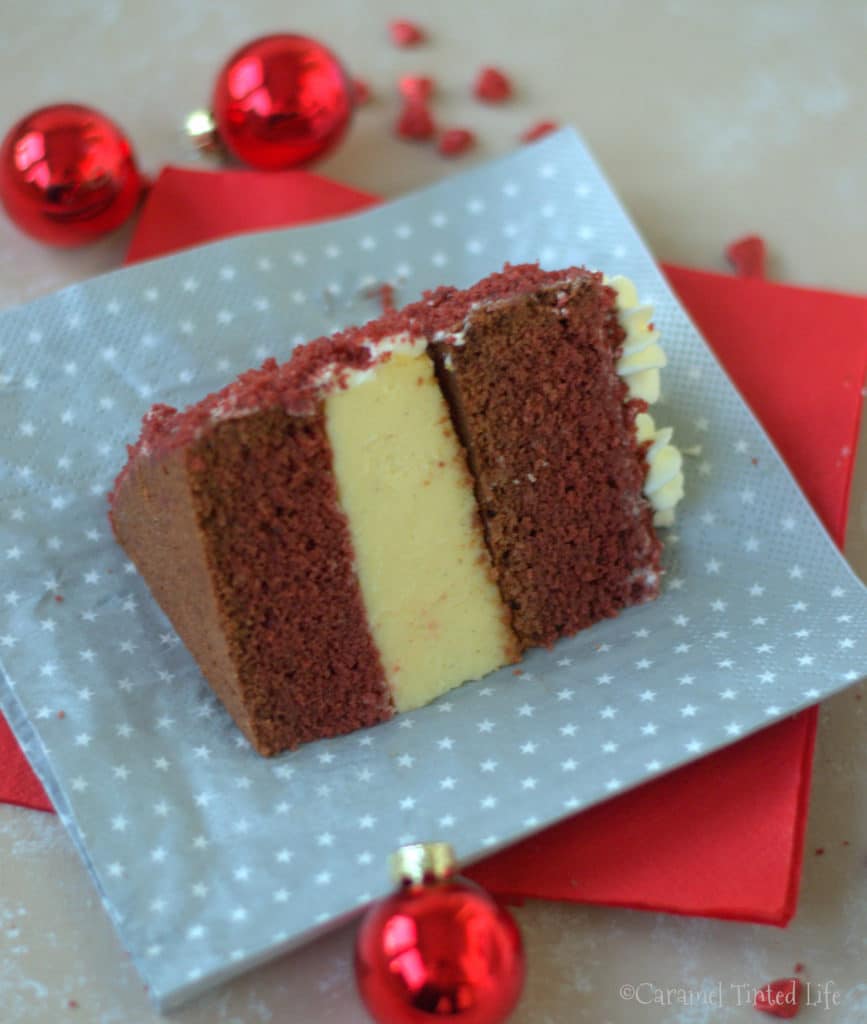
Red Velvet Cheesecake Cake
Ingredients
- For the Cheesecake Layer
- Cream cheese 300 gms
- 1/3 cup cream I used whole cream with 35% fat
- 1/2 cup sugar
- 1/3 cup yoghurt
- 2 eggs
- 1 tsp vanilla extract
- 2 tsp all purpose flour
- For the red velvet cake layers makes 2 x 6 inch cakes - Recipe adapted from sallysbakingaddiction.com
- 2 ¼ cups all purpose flour sifted together with ¼ cup cornflour
- 1 tsp baking soda ¼ tsp baking powder
- 2 tbsp cocoa powder unsweetened
- ½ tsp salt
- ½ cup butter 110 gm, at room temperature
- ¾ granulated sugar
- 1 cup vegetable oil
- 3 large eggs separated, at room temperature
- 1 ½ tablespoons vanilla extract
- 1 tsp apple cider vinegar
- Red food coloring I used 2 teaspoons gel food coloring
- ¾ cup buttermilk
- For the Frosting:
- 150 ml whipping cream
- 100 gms cream cheese
- 1/2 cup icing sugar confectioners sugar
Instructions
- Start by making the cheesecake:
- Preheat oven at 180C (350F) and prepare a 6 inch spring-form pan by brushing it with butter and dusting it with all-purpose-flour. Dust out the excess flour. Wrap a layer of aluminium foil around the spring-form pan to prevent any water from the water bath from seeping inside.
- Heat water in a kettle/saucepan as you prepare the cheesecake. This water will be used in a hot water bath as the cheesecake bakes. The water bath keeps the cake moist and prevents cracks from forming on the crust
- Using a handheld or a stand mixer, beat the cream cheese until soft and creamy
- Add the sugar and beat on medium speed for a minute
- Add the eggs one at a time, beating after each addition
- Add the yogurt, cream and vanilla and beat on low speed for another minute
- The mixture will be smooth, and of a pour-able consistency
- In a roasting pan, add the hot water and place this in the oven
- Pour out the batter into the prepared spring-form pan and place it in the roasting pan
- Bake the cake at 180C for 45 minutes
- Let the cake cook once done, and let it chill in the fridge while the red velvet cake is baking
- For the red velvet cake layers:
- Start by preheating the oven to 180 C, and prepare 2 x 6 inch cake pans as above
- Sieve together the APF and the cornflour into a bowl
- Into the APF-cornflour mixture, sift in the baking soda, baking powder and cocoa powder
- Add the salt to the dry ingredients and keep aside
- In a separate bowl, beat the butter until fluffy
- Add the sugar and beat for a minute
- Add the oil and beat again
- To this mixture, add the 3 egg yolks, and beat for another minute
- Add the vanilla extract, vinegar, red food coloring, and beat for a minute. Add enough color to ensure the batter achieves a nice and even red color. I added around 2 teaspoons of gel color.
- In a separate bowl, whip up the egg whites until they form stiff peaks. This takes around 4-5 minutes using a handheld mixer on high speed.
- Now add the dry ingredients to the wet ingredients, alternating it with the buttermilk
- Beat the mixture on medium speed until just combined. Do not over-beat it.
- Fold in the beaten egg whites gently until well combined
- Turn out the batter into the 2 cake pans and bake at 180 C for 30 minutes
- To prepare the frosting:
- Whip the cream with the cream cheese and icing sugar until the mixture is thick and spreadable. This should take around 5 mins with a hand-held mixture on high speed
- To Assemble:
- Using a serrated knife, cut the tops off the red velvet cake layers, ensuring that the surfaces are smooth. Crumble the red velvet cake-tops that have been cut, and keep the crumbs aside.
- Sandwich the red velvet cake layers with the cheesecake layer and spread the frosting all over the cake, using an off-set spatula. The finishing doesn't have to be neat.
- Take the crumbs of the red velvet cake and gently press them all over the frosted cake. Using a piping bag filled with left-over icing and fitted with a star-shaped icing tip, you can dot the top of the cake with little stars, for that added festive look!
Notes
If you like this recipe, pin here for later:


Looks like a wonderful recipe, will be giving it a try!
Thank you Ariadne!
A lovely Christmas post. I would love a slice of this cake without all the trouble of making it! If you ever open a cake business, let us know ...
Thank you Clare! If we meet sometime, I'll know what to get along! I do have a cake making venture called Sugar Rush. Here is the link if you'd like to take a look: Sugar Rush
Your cake looks fabulous! Happy holidays!
Thank you so much Stacy! Wish you the same!
It looks amazing and very festive 🙂
Thank you so much Petra!
This sounds awesome- cheesecake with red velvet cake sounds like the perfect combination!
Thank you Rachel! It is one of my fav combinations of all time!
Wow, decadent was the word I was thinking, absolutely!
Thank you Tara! yes it is, two of my favourite desserts in one go!
Hello, Shinta! Nice to meet you! Your cake looks so pretty and oh so delicious! Thanks for sharing this lovely cake to this week's FF! Looking forward for more. 😀
Thank you so much Jhuls!So happy that you liked it!
Wow this looks incredibly delicious Shinta. And we were just enjoying the market on Saturday night - it was such a lovely atmosphere. It's our 3rd Xmas here too - and although I miss family in NZ, the Northern hemisphere really turns it on!
Thank you Rachael! Yes, even a cynic would love it here, there is such great variety and so many traditions. Thanks for stopping by!
Your REd Velvet Cheesecake looks beautiful! Hope you are having a great evening and thanks so much for sharing with Full Plate Thursday!
Miz Helen
Thank you Miz! glad you liked the cake
Your cake sounds decadent for sure. So smooth and delicious looking! Thank you for bringing this recipe to the Fiesta! 🙂
Thank you Linda! Happy FF to you!
Love this post! Christmas lights, markets and a fabulous cake! ????
thank you Tamara!